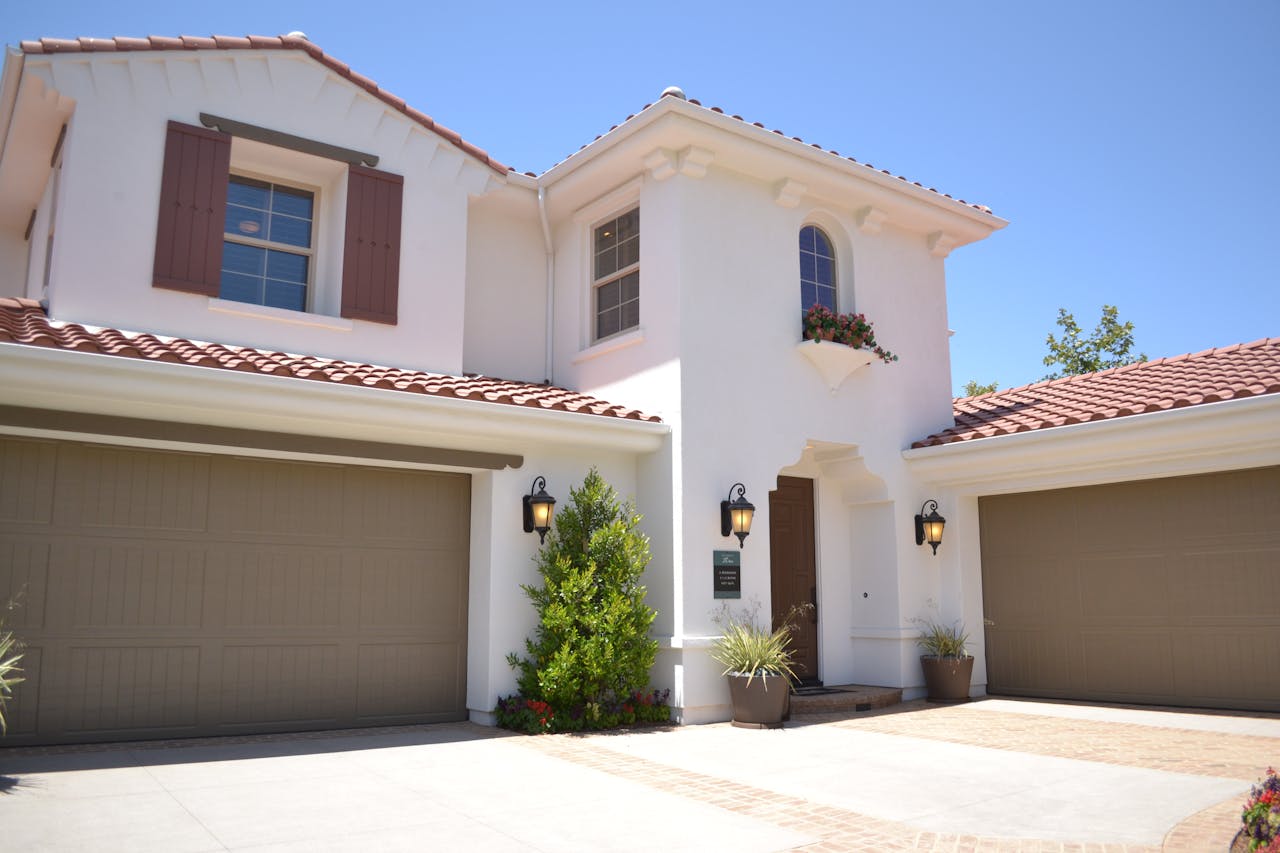
Building your own carport is a fantastic way to add value to your home and protect your vehicles without the expense of a full garage. The best part? It’s a relatively straightforward DIY project that you can tackle with some basic tools and a little bit of time. If you’re up for the challenge, we’ll walk you through the process, step by step, to help you create a sturdy and functional carport that meets your needs.
Step 1: Planning and Preparation
Before you dive into the building process, take the time to plan everything out. This is the stage where you decide how big your carport will be, where it will go, and what materials you’ll use.
What to consider:
Location
Choose a spot that has enough room for your carport without obstructing walkways or blocking access to your home.
Size
Will your carport house one vehicle or two? Do you want extra space for storage or a workshop?
Materials
Most DIY carports are built using wood or metal. Wood offers a classic look, while metal is more durable and requires less maintenance.
Make sure to check with your local building authority to see if you need permits or if there are zoning restrictions on where you can build your carport.
Step 2: Gathering Your Materials and Tools
Once you’ve got a clear plan, it’s time to gather everything you’ll need to build a carport. Your materials will depend on the type of carport you’ve chosen, of course. But to help you get started, here are some of the basics you’re likely to need:
- Posts (wood or metal, depending on your preference)
- Roofing materials (metal sheeting, shingles, etc.)
- Concrete for securing the posts
- Screws, nails, and fasteners
- A level, tape measure, and power drill
- A saw (if you need to cut materials to size)
- Optional: additional materials for gutters or storage if desired
Having everything ready and organized will save you a lot of frustration during the build.
Step 3: Laying the Foundation
While a full concrete foundation isn’t always necessary for a carport, you’ll want to make sure the ground is level and that your posts are secured properly. If you’re building a permanent structure, concrete footings are recommended for stability.
Here’s how to get started:
- Mark the four corners of your carport with stakes and string. This will give you a visual guide for where the posts will go.
- Dig holes for each post, about 18 to 24 inches deep, depending on local codes and weather conditions.
- Mix your concrete and pour it into the holes, then place the posts in the concrete. Use a level to ensure each post is straight. Let the concrete set for at least 24 hours before moving on.
Step 4: Building the Frame
Now that your posts are secure, it’s time to start building the frame of your carport. The frame will support the roof and give your carport its structure.
Attach horizontal beams between the posts at the top, using screws or nails. These beams will support the roof.
If you’re adding additional support, such as cross beams or bracing, now is the time to install them. This step is crucial for making sure your carport can handle wind and other weather conditions.
Make sure everything is level and sturdy before moving forward.
Step 5: Adding the Roof
The roof is what will ultimately protect your car from the elements, so make sure you install it correctly. Depending on the materials you’ve chosen, you’ll either be working with metal sheeting or traditional shingles.
- Attach roofing supports to the top of the frame if needed. These will provide extra stability for your roof material.
- Lay your roofing material over the supports. If you’re using metal sheets, start at one end and overlap each piece slightly to prevent leaks.
- Secure the roofing material with screws or nails, making sure everything is firmly attached.
If you want to go the extra mile, consider adding gutters to your carport to direct rainwater away from the structure.
Step 6: Finishing Touches
Once the roof is on, your carport is nearly complete! Now it’s time to add any finishing touches that will make your carport even more functional or visually appealing.
Paint or stain the wood if you used wooden posts or beams. This will protect the wood from the elements and give your carport a polished look.
Add trim or gutters if desired. Not only do these features look great, but they also provide extra protection against rain and wind.
If you want to use the carport for more than just parking, consider installing shelves or storage hooks for tools and outdoor equipment.
Step 7: Enjoy Your New Carport!
With everything built and the finishing touches added, you’re ready to start using your carport! Whether it’s protecting your vehicle from the sun, rain, or snow, or giving you a space to work on weekend projects, your new carport will serve you well for years to come.
Building your own carport might seem like a big project, but with a little patience and a solid plan, it’s a DIY task you can tackle successfully. So grab those tools and start building—you’ll be glad you did!
